Friday, November 22, 2013

Third and fnal poster

Here is the final one for this series and I enjoyed the challenge of designing ,personally I don't feel it's a strong point  but I kept in mind size in relation to each object and the fact that I expect young children to understand the drawings enough to find them interesting in the negative and positive spaces. They will create their own marks with whatever materials they use for colouring.
All posters are 500mm x 325mm , approximately half a sheet each.

                                                             
Third poster.

Tuesday, November 5, 2013

Exciting News

Earlier this year I entered the Printmaking Sisters Animalia International Print Exchange and today an e-mail was sent out to participants and members with a News Flash (quote),
 "The National Gallery of Australia  is to house the Animalia International Print Exchange Collection permanently in their archives following the exhibitions in Italy and USA. From August 2014 onward the collection will be available for viewing by appointment at the National Gallery. Congratulations to all the participants."
(unquote).

I also bought the poster which displayed all the prints and I was very impressed with the variety and quality of the prints so my congratulations to all involved.

Wednesday, October 30, 2013

Playing with Posters

When my children were younger I had bought two large posters to colour in, good for bored or rainy days. We had so much fun and what people call "bonding time " these days  I decided to make my own for my grandchildren. I know my children still have theirs and I had them laminated.
 I don't know yet when I will present them to the grandchildren and I will also supply colouring materials too.
Deciding on the subject matter and design I kept in mind areas to create interest in shape and form using large and small areas but to have a challenge to use their colour sense as well and this also lets  them create marks, adding another dimension.

 
First poster.

 
Second poster.
 
Butterflies are the possible third subject as I have two boys and one girl.
 
My original idea was to carve and print from a lino block , which I still can do "one day" but as lino cutters would know there is a lot of cutting away large areas to create the fines lines.
So I decided to do as drawings with archival, waterproof  and colourfast inks.
 
Now it's time  to move onto the third poster and in the back of my mind ideas are forming for maybe doing some for other family member's grandchildren?

Wednesday, September 4, 2013

Birthday Favour Bags

My grand-daughter celebrated her seventh birthday recently and mum chose the "tea party" theme complete with silver tea pot and nice crockery. The girls dressed up for the occasion in hats, boas, make-up and had their own cubby house.
 I , while in the bag mood bought some nice brown paper and made the favour bags and decorated them with pretty paper leftover from the invite pad.
Leftovers are so handy and used some paper tie for the handles and finished them off with two metal tags , one with "thank you" and the other with "love" on them.
Pretty in pink tones.
 I also made paper necklaces as a gift for each of them.
 

Project Number 2

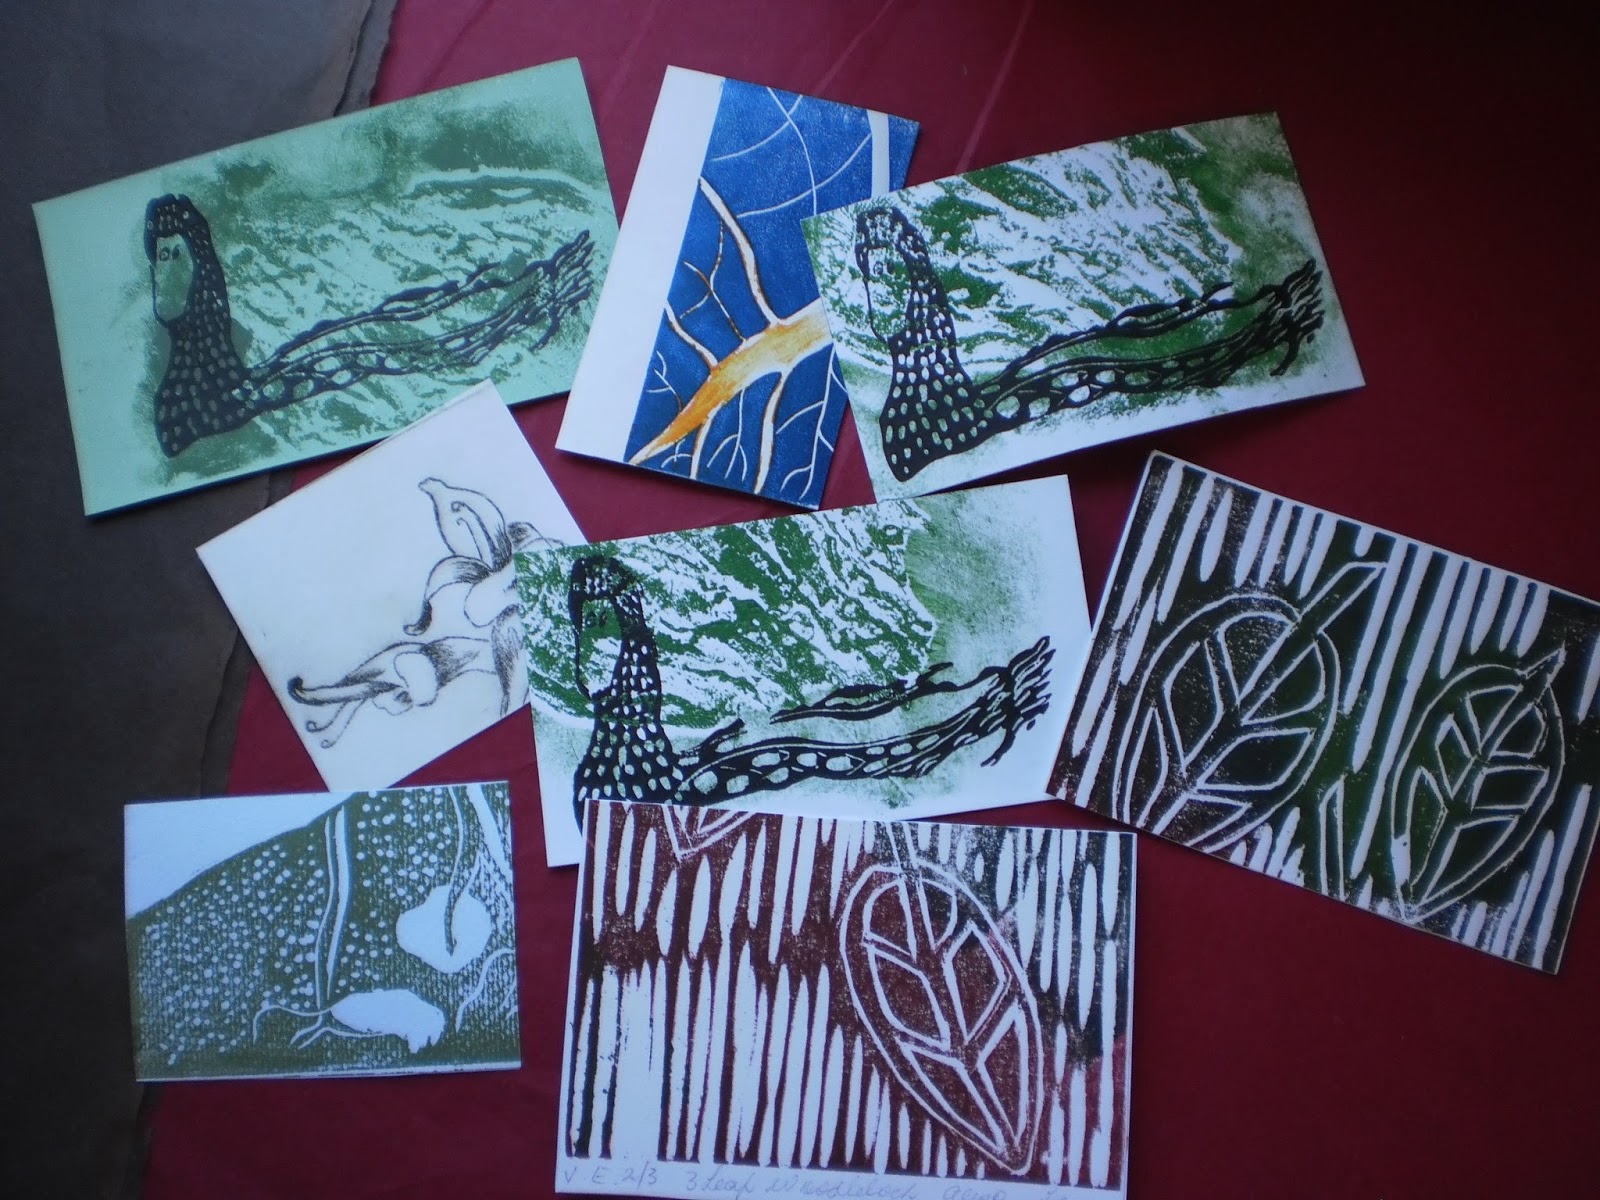
A group of twelve members signed up for this project involving the Botanic Gardens for an exhibition titled "Diversity in Nature" :-Special plants of Mackay and the Whitsundays.
Each artists was allotted a plant and written information about the plant and we were allowed to create a print in any medium and style.

I chose a double plate print with the background developed from a vinyl lino plate and the main image from normal lino but smaller. 

This isn't how I loaded these  as the one below is the vinyl lino already cut and the print here.


Lino plate ready fro printing.

The finished image and I liked the two different colours.
The large veins  for the background are indicative of their life giving energy. My plant is the Mt .Blackwood Holly which  has a lovely trumpet shaped flower of the most beautiful cerise colour. The leaves and the sticky type stems interested me and the points on the leaves are so defined.

Something Different

It's not because I have been 'resting" from art projects , I had a medical family situation to attend to and am now just getting back into concentrating on new projects.
Before this I did have an amount of work done with another in the wings. Earlier in the year I was involved with an art market as a member of a printmaking group . We worked towards  sharing a stall at the September market so being inspired  I felt it was a good avenue to recycle some old prints etc. I dismembered an old paper bag for my template and made 8 carry bags , some slightly larger then a couple of others. As you know what happens one thing led to another and soon found myself making all sorts of tags to put in them. Anything from book marks (8), post cards(3) with hand drawn posting address info. on the reverse, to /from cards(1), gift cards (6) and one original cd size print from a previous project.

 
A sample of the cd prints.
 
 
Old portrait prints for library book marks, being sorted so no bag receives the same colour or shape.

 
Selection of the postcards. 


More bookmarks or tags the purchaser can use for whatever is required.

 
Sorting details again.

 
I "wrapped'" the bottoms to prevent then from falling out should someone pick then up to look at. 
 
 
Presentation of contents for the bags.
 
This is only three of the bags with the two on the right being my own prints  and the one on the left was a leftover paper from my last book making session. Unfortunately due to circumstance beyond my control it was cancelled.


Wednesday, July 3, 2013

Experimenting Can Be Fun.

Over the last two days I have been busy with my Gelli plate and moulding paste. I read about this technique on Gelli Arts site so decided to have a go, nothing tried, nothing gained.
I made my own stencil from an old notebook's cardboard back and sealed it with shellac as I did with the two plates.
A simple window design.
Love that texture and I wasn't too sure how much paste to use so I was flying alone here but the instructions said a thin layer.
These still have some colour on them which was good to photograph as they are white substrates.
I really enjoyed playing with the paste and intend to use at a later date for a more serious image.
 
 
These won't be in any order as per print run . I do like this one and I also used a embossing tool to pick up the ink on the base of the plate.  This one's a keeper as I will use some in other projects, more on the craft side. 
In some of them I have overlaid the image as well as the colours, the beauty of having more than one plate. At this stage ideas were rumbling around so I was trying to keep up with the inspirations.....
Darker tones with this one and I kept the stencil in place while printing.
By changing the inks and images and ghost printing I came up with this beauty, another keeper.


A brighter and clearer colour in this one and I soaked the paper too as I normally do for oil based inks. I must admit to not having good results with the acrylics so switched to  the oil based inks .
And the final one which is growing on me as very hit and miss printing.
 
There will be more experimenting in days to come with this method so I hope you all enjoy reading it and plan to give it a go.