Friday, January 6, 2012

Swapping prints.

I belong to a group of printmakers and each year one member of the group selects an idea or subject , there could be a variety of choices and a vote is taken to decide on the subject. This  is to be printed by the end of January for presentation at the AGM in February. For a small fee to help the group financially members are required to print an edition of as an example 13 prints which includes the first of each  persons print going to the group's own collection. It was agreed to keep the size to A4 each year.
For as long as I am prepared to continue printing in this manner I will always collect number 8 and should I decide not to participate each year then my number goes to someone else. As we break for two months over the Christmas period it is good to have something to work on and to keep the hand in.

Our first swap , year 2009.

Printbank Mackay Inc. first swap collection and edition of ten. Portraits was the chosen subject and I eagerly awaited for my collection and it is interesting to see so many different styles and mark marking.


YEAR 2010

First bundle for year 2010
My subject choice was voted in this year so I decided to present them with a challenge of sorts.  Naturally the size was to be adhered to but colour's and medium were a free choice of the printer.
To help create interest I limited them to three objects from the kitchen only with my choosing one item that was to be included somewhere  with the other two as their own choice. My choice was a grater as  I like the shape and every possibility of texture could be applied. I have photographed these in three bundles due to more participating.


Bundle two and it is nice to see plenty of colour.

The final two for this year.


YEAR 2011
First bundle.

This year tree trunks was the voted subject and once again great one for texture. So many different shapes to trees as well.

Final few for trees. I like the colours , shapes and the embossing on some is a nice touch.


And for year 2012 we are all working on a tribute to Margaret Olley. More on that later.
                                                                            

Monday, January 2, 2012

A brayer has two uses.

In response to a question of how I apply ink to the plate here is I hope some helpful information.
I have set out the tools etc in an effort to make it a bit easier to follow.I thought it might be better to approach it from a "starting point".

A variety of spatulas  or palette knives for smoothing the ink on the glass plate.


Two brayers I use a lot. These two are strictly for inking the plate as I have an older one for "printing".


Three tools I can use to print with. Left to right ,my brayer for home printing, top right a proper baren metal base and lower front a bamboo baren. It depends on the paper quality and weight which one I use . For Japanese or lightweight paper I use either one of the other two and heavier paper  (like photocopy, cartridge drawing paper and lightweight Fabranio papers)  I use the brayer as I can get more pressure with it. I do have the use of  friends press for exhibition pieces.


The glass palte , from an old unsed fridge! any glass will do so long as it it reasonably thick similar to plate glass available from recycling centres.


From left to right ink, bottle of burnt oil for thinning the ink, in very small amounts while mixing on the glass plate. Talum powder can be added if too oily and runny to thicken the ink, again adding very small amounts to get concistency right. Vegetable oil to clean everything , knives, plate, glass, brayer  etc. with newspaper followed by a clean cloth. Some times I do a final clean down with turps but I like that the oil keeps materials soft.


Palette knife ready to spread and smooth the ink prior to inking the plate.


This what to expect your brayer to look like when you start picking up the ink.


A fully loaded brayer with ink. Listen for the soft whisper as you roll the brayer if it sounds heavy and feels sticky and forms little peaks as it rolls it's too thick.


Inking the plate in layers of ink and taking care not to overload the ink as it will fill the grooves which will print as white.Make sure the plate is covered evenly and corner to corner, edge to edge depending on your design.


The end result and this plate is showing cuts in the lino and a piece of cotton thread glued onto it which will print differently to the cut line. Because the thread is raised it will pick up the ink off the brayer and prints with a white edge around it rather than a fine white line with a nice sharp black outline. I haven't printed this plate .


Wednesday, December 28, 2011

Filling In Time Playing With Letters.

At present I am in between projects, researching for one down the track, look out for it in September, and waiting for instructions for another.

So what better way to fill the time but to doodle with some letters which will be presented to a grandson as a decoration for his room.

Otherwise I have been swimming , reading and sorting the studio. There is always some thing I can do as well as catching up on some interesting blogsites etc.


This is as far as I have been able to go until I talk to his mum re colours . 
 More on this later......


Monday, December 19, 2011

Christmas Wishes for 2011

Christmas a time for family, love, peace and a good wine. Being a person who possesses an interest in art, creating and appreciating others pieces I like to buy handmade decorations as compared to the commercially made products. After all it is a time for sharing be it with strangers, neighbours or my favourite people , grandchildren. My granddaughter , all of five years old loves to do art with Nana so we had a lovely day together making decorations and decorating our tree.


Family tree with handmade decorations, (2 boxes and star on top at the back.)


A special one I love which I bought at a local gift shop in a town half an hours drive away last year. It is made from soft fabric and joined together separately .


Family banner compliments from my granddaughter and me.


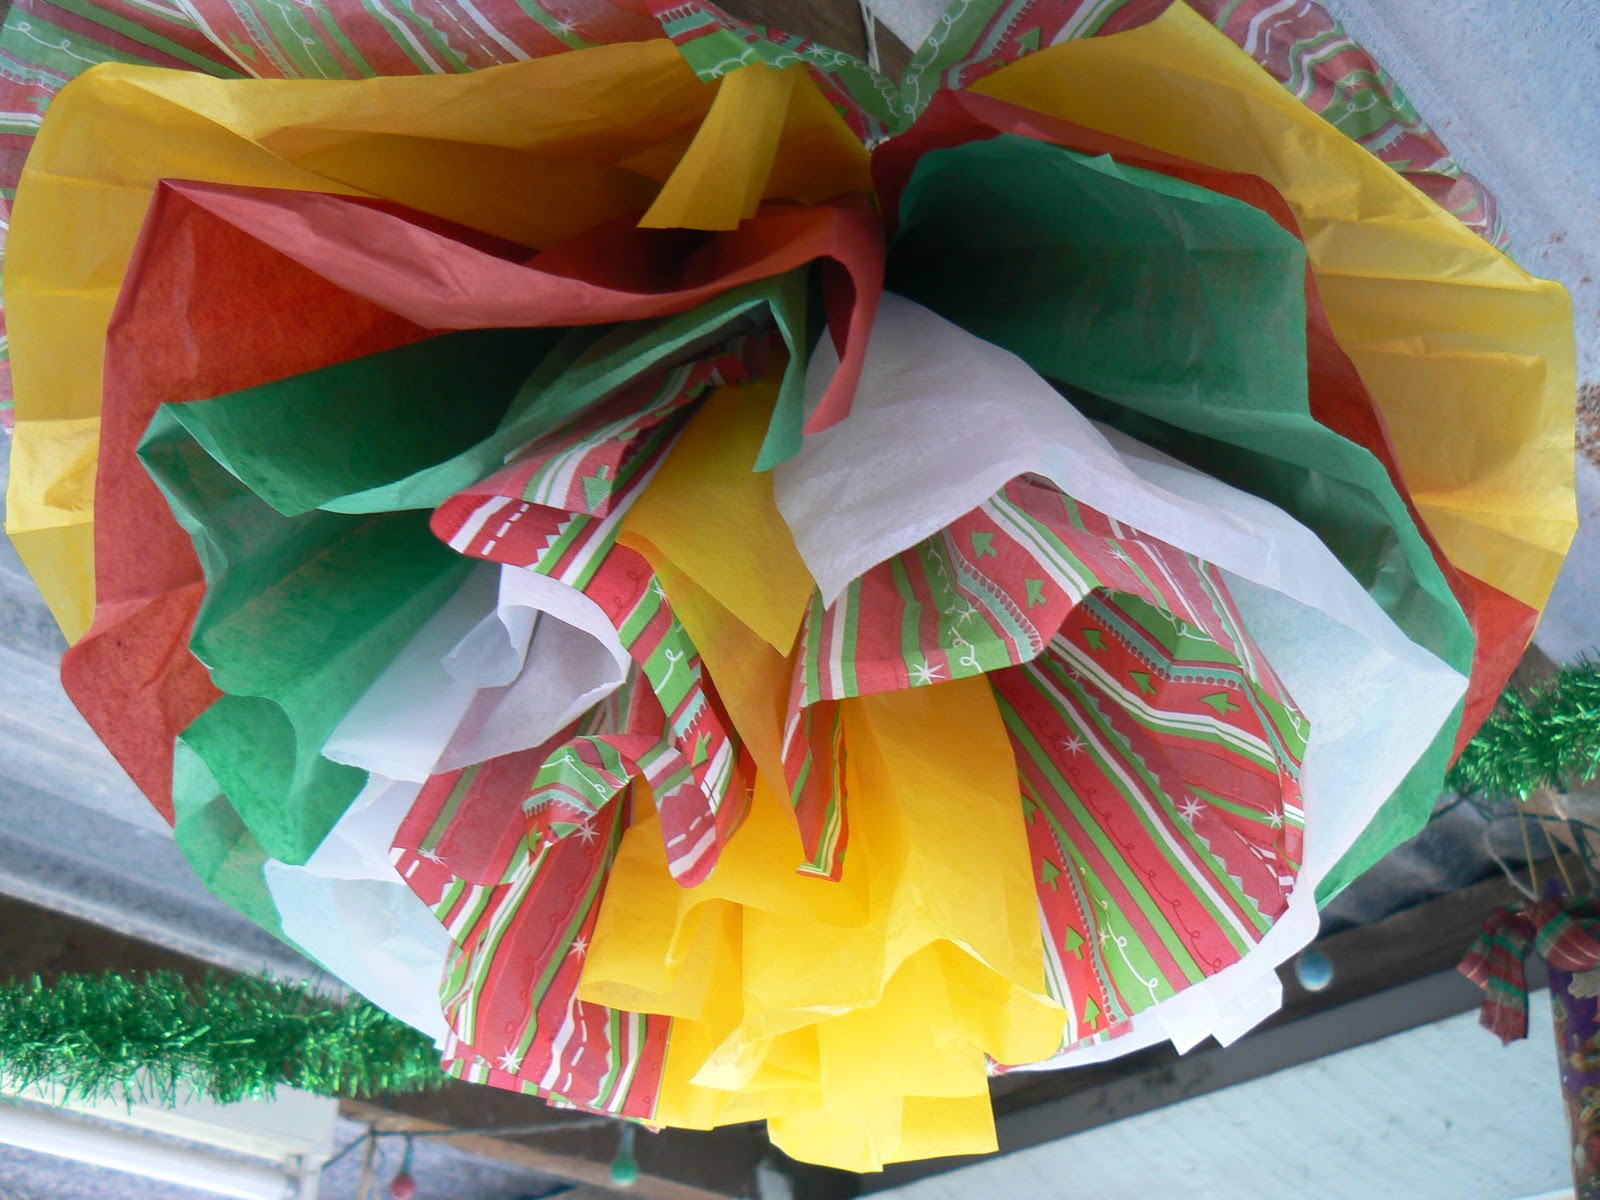
My Christmas pom pom made from tissue paper and not some thing one can be in a hurry to do as it tears too easily. I made about four different sizes practising and one has a scalloped edge, no limit to one's imagination.Glitter , gold stars etc are things the little hands could do to help.
I remember making the crepe paper chains each year as a child so they will be on the "new list" for 2012.


Scalloped edge version. In the background is one I made a few years ago from styrofoam balls , painted with paper cutouts added and varnished.  Some of these were also covered in Christmas fabric and coloured ribbons attatched to hang from.


Friday, November 25, 2011

Printing with the Brayer Demonstration.

I have started with the registration paper and markings which I think all printmakers practise.
The first sheet is the registration paper with the size of the printing paper marked then the size of the plate is marked on the edges to be able to align the plate.
All these marks are transferred to the BACK of the printing papers for the edition.


Registration marks. Of course these are all aligned one on top of the other for printing.


Plate in position minus the ink, I wasn't printing today so this is a "special" effort, a dry run .


And this is how it looks ready to print.


Caution should be practised with the application of pressure .To avoid  the paper slipping I apply gentle pressure with one hand while rolling the brayer across making sure every portion has been printed. It is a slow process  and I do lift it from each side , very carefully  to check the print.
I have used the baren to print but found it moved the paper especially with oil based inks, maybe I just need more practise with that!


No I don't have three hands  hubby helped here with this shot.I don't usually print at home in this fashion with large prints as I have access to a friends press.


Wednesday, November 23, 2011

Silkcut v Vinyl./ Reduction plus Stencil.

Experimenting again and I used for the first time the new vinyl plates in a workshop back in September , 22nd and carved the owl on the reverse of that plate. As it turns out it is my favourite plate/image so have used it constantly but realise I can't keep producing the one image.
My next challenge was to use it as a reduction plate which presented me with a few hurdles. Knowing that it "stretches" I needed to stabilize the sides during the process.This meant I could reduce the edges so took a clue from screen printing days and made my own stencils to protect the printing paper. Also I wanted to use two different colours and designs from this plate so had to bear that in mind as well.
To make my own stencils I printed off the image first and kept that as a template but made sure I used reasonably thick paper to cut them out so they would last a few editions.

Original Plate.


Inked Plate.

Inked Plate with Stencil Added.

The Print.

The background was printed with a light colour first from the same size plate and reprinted with a slightly darker colour,working with tonal value here.


Some detail on the head and the background colour isn't as grey as this looks.

Because I had inky fingers after a few runs I just place some paper over those areas to protect the printing paper.


Reducing the belly area. I only do this once a definite decision has been made especially as I wanted to reuse the plate in another edition and another colour.

Now I started rethinking design in the wings just to add interest. The best part of using stencils is if they don't work then I can reduce the plate, once cut away I can't replace it!!

The stencil ready to be placed on the inked plate. Note the arrow lower right corner , this is always part of the registration process and thinking reverse position too.
Stencil and printed plate and it wasn't necessary to ink the complete plate but enough to cover the areas I wanted to print and to hold the stencil onto the plate.

Here's the result of that print and not sure I liked it after all so now I can change it to the reduction method.

I missed the registering a bit here and when I inked the blue/black wings I inked the branch in green .
In the end it's about a 7colour reduction/stencil print and I am happy enough with it.


Saturday, November 19, 2011

Tackling Tricks.

While working on a piece at home the brain was in overdrive, you all know what that feels like....
and to resolve a situation I found myself in I resorted to  what I call" trickery". These are little ways to help one out of a dilema and we come across them in many ways . I had two fine areas meeting and I wanted to print them in two different colours. Having thought about it for a long time and tried a few different "tricks" at home I decided to employ the use of brushes with oil based inks .
 
This is the first attempt applying the two colours.


Very carefully applying the last of colours pre printing.
I wasn't totally happy with the prints so chose to paint just the one colour and use the  small brayer as per normal for the other.


A very slow process to say nothing of an aching back!!
Once I printed from this plate it was easier with this process and I went on to print a reasonable edition. I know professional printmakers would have used this process anyhow but sometimes we need to work through ideas and "tricks" to find out what is best.It's all in the name of fun.