Sunday, November 2, 2014

Making another book.

This one is for my sister who I have travelled with and I find it interesting how one person relates to another family member and how individual we all are. Our interests are similar in art too.
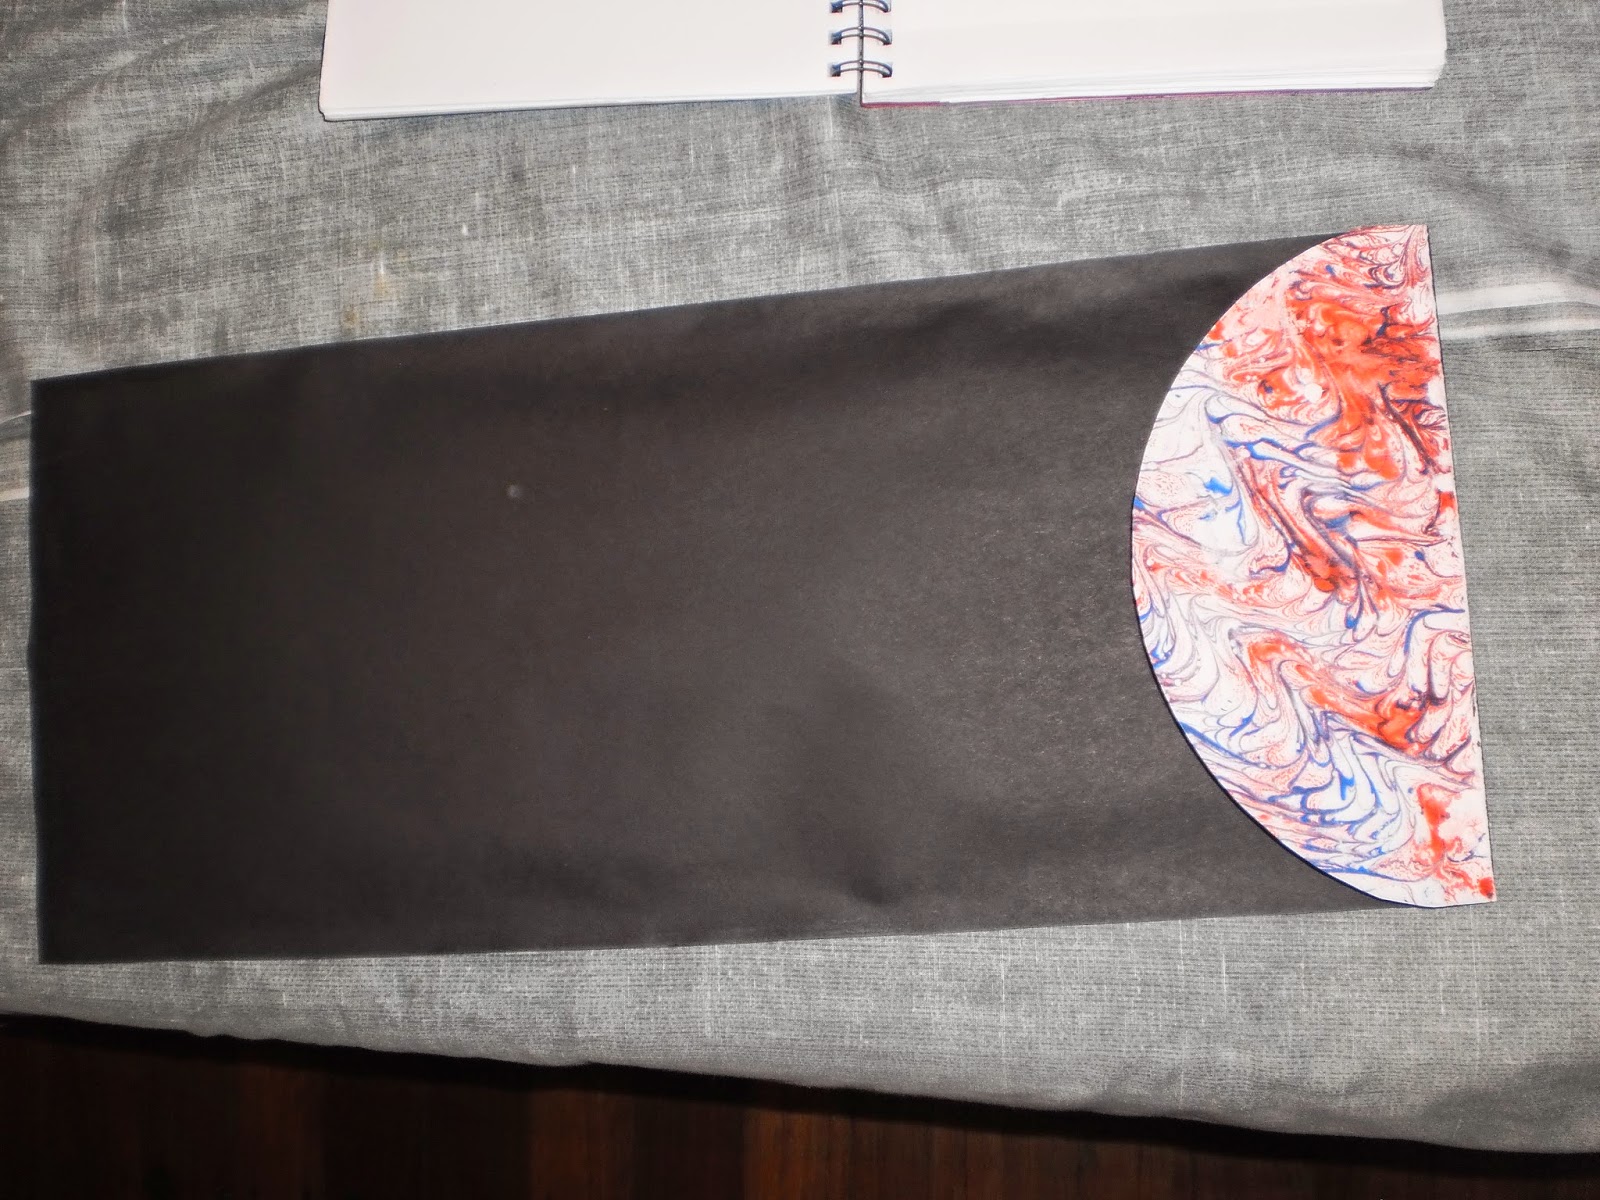
I stayed with the same format of landscape design I used with the Double Image book for my twin but not with the concertina folds. The cover is in one piece with the pages hand stitched down the centre spine, so it doesn't open and close as normal. I printed the covering papers and splurged out for some book cloth to cover the slipcover in a darker green.


The first page has a childhood family photo and title  with her initial's embossed and intertwined.


Embossed lettering.
 
On the inside cover of the slipcover I printed out a timeline of our travels in between two maps of cities we had visited. One page just to add interest was a list of movies and books we had read or seen and discussed in our letters. 
 
 
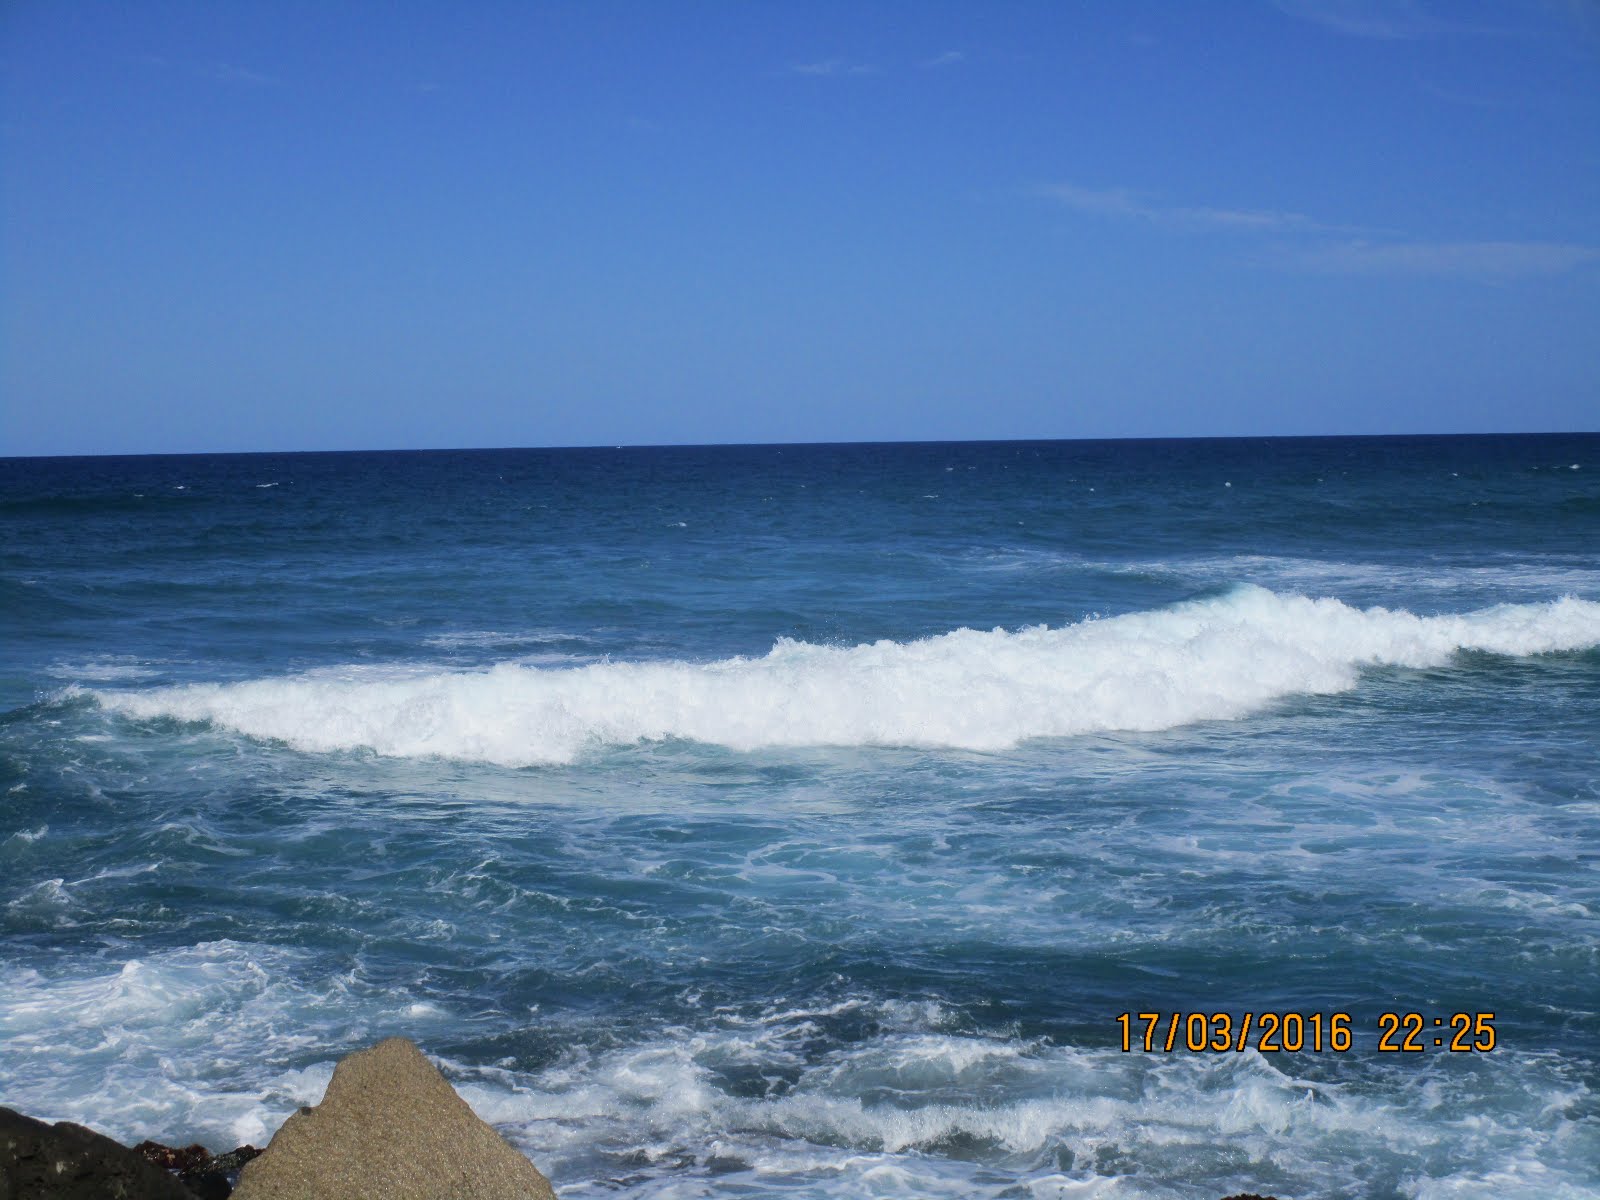
We have shared kayaking on an island weekend with family, hot air ballooning for birthdays, art exhibitions, our very first opera in Melbourne, climbed the Sydney Harbour Bridge for another birthday celebration, cruised to New Zealand for her 70th birthday and also went whale watching at Hervey Bay stopping at local towns to explore museums.
 
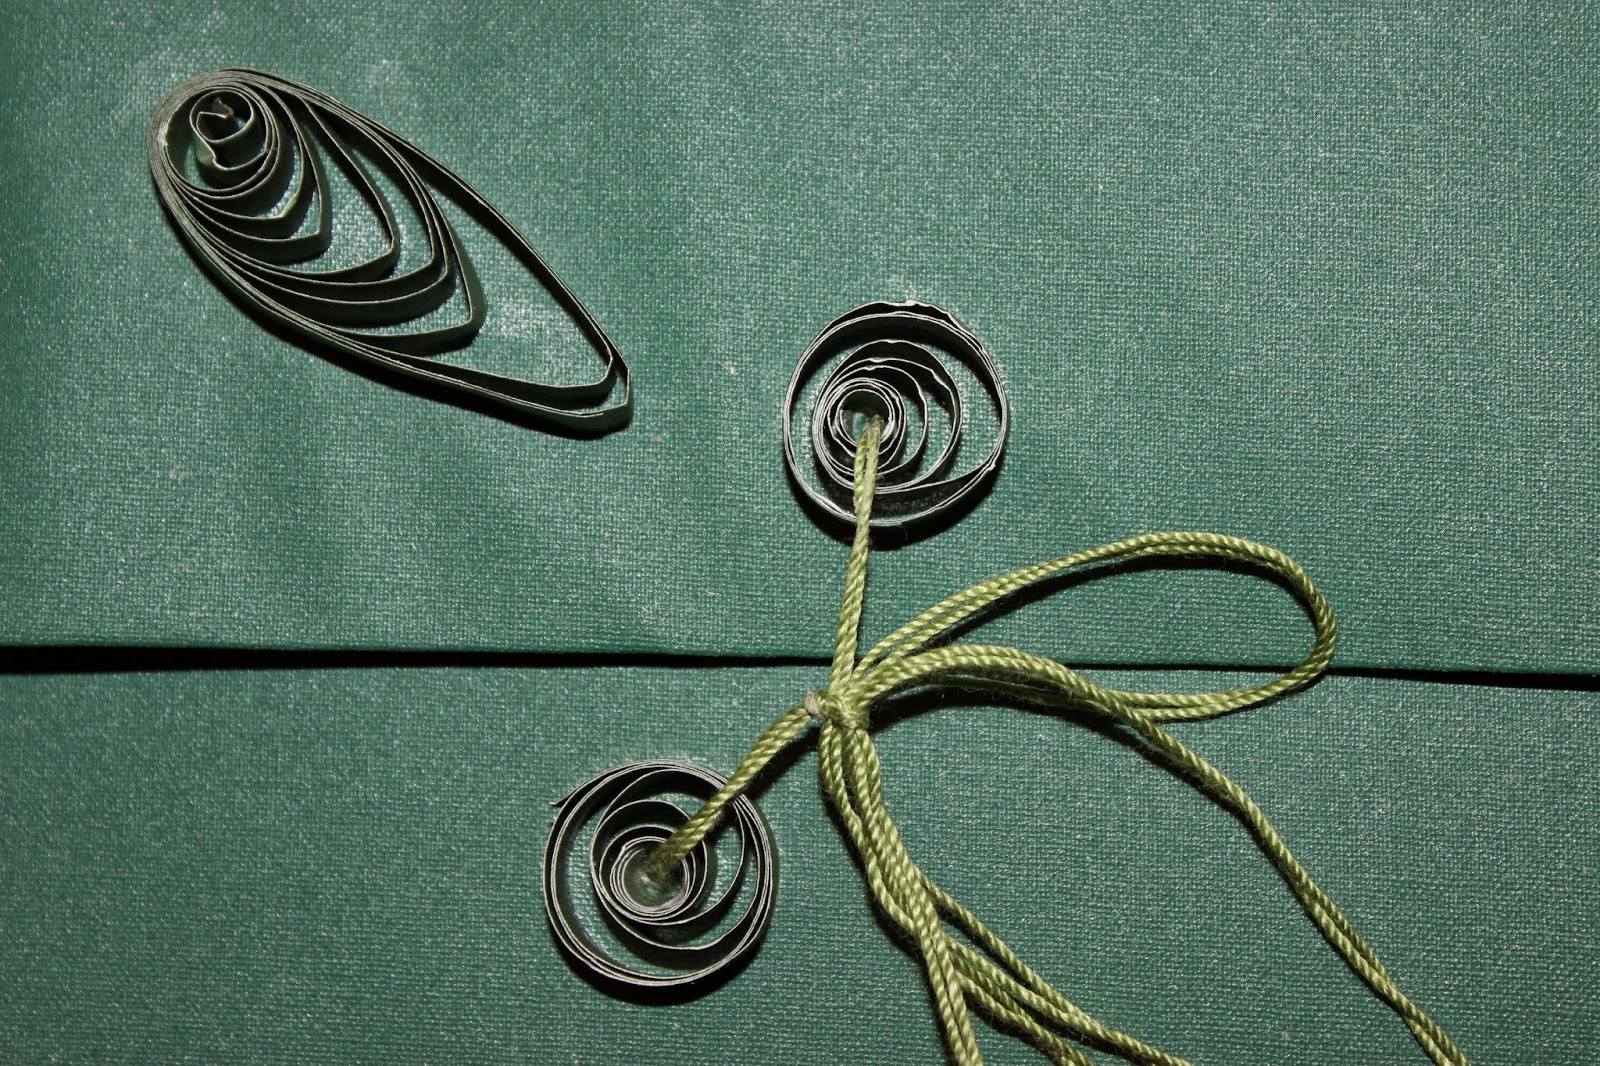
To finish the slipcover I tried for the first time quilling as I needed something to close the opening as well.
 
 
I have enjoyed making these books and learning new skills so I have started to write my own story about the workshops, exhibitions and  my private collection so that is keeping me busy and it's great
to read old notes and I keep taking photos of photos especially if I no longer have an original of a particular exercise. As I write, and thank heaven for old notebooks and journals to rely on for information that  can be forgotten, my brain plays with ideas for it's cover and how I might build the book itself especially as I will be printing it myself which means single pages so need to create a nice way to join them to form the signature.


Saturday, July 5, 2014

Double Image, a book for my twin.

This year has developed into my year of bookmaking which has been nice to revisit those old skills.
Presented in a red slipcover with a marbled trim and for the very first time I tried my hand at quilling and found it to be very useful though delicate to perform.Sometimes one learns new skills along the way.

I have gifted this particular book to my twin sister who lives in Brisbane . The object was for a keepsake as well as my own satisfaction of making a gift to honour our relationship.
A very simple concept where I tried to explain only in a general way to any reader what being a twin means.
Being post war babies, twins in our growing years were not as common as today's birth rate and while some people would be curious about parts of that relationship I attempted to answer those queries with photos and some text.

The structure was adapted from a book I had previously admired at Libris Awards and kept it in mind for this project. Certainly it wasn't the same design or size as it morphed as part of me from the photos. The back was one piece with the pages, only a few, hand stitched down the middle instead of the usual practice of  opening a book from the left this opened from the middle out towards the left and right, a concertina style fold.
  The marbled end cover was in one piece naturally and the back was decorated with the matching marbled paper. To conceal the start and finish of the thread presented me with challenge to hide the ends as no knots were used. I used a very long thread and stitched one way and returned   therefore covering the middle line or spine. Each loose end was glued in place under the page very neatly. To decorate the actual stitching I twisted the thread part of the way down on each end before moving onto the next hole.
Title page with hand embossed image.


Slipcover.

Folds from the middle.

Spine with a twist.

Quilled decoration.


Wednesday, May 28, 2014

Book Circle.

In between projects another one presented itself which I hope will be handy. A good way to use up odds and ends of old prints, paste paper, marbled papers etc, strips torn from other book making efforts which are just not the right size for another book.

Palm size notebooks that are good for shopping lists I have recycled these materials and made slip covers , reusable to suit these books.


 Book Circle.
 
Once I worked out the template it progressed smoothly.
I'm putting them aside and will donate to my grand daughter's Christmas Fair.

Wednesday, May 21, 2014

Introducing Other Interests.

Considering I am not that active here at present, I will be adding new posts on what I have been working on at a later date.

I thought I would broaden my site and introduce a couple of my other interests. My hubby is dabbling in orchids, I used to take care of them before but art took over, along with child-minding on a reasonably regular basis and of course participating in my love of swimming.
 Just to  start it off here are a couple of his newest purchases. Always a beautiful flower which gives pleasure for so long. It is nice to have more than one at a time in our living spaces.


I shall leave you to enjoy these,too.

Wednesday, April 23, 2014

Sidetacked by Inspiration


Georgia's Book.

After making the book my supplies of decorative and marbled papers was running very low. My friend is very pleased with the result.

After reading various recipes on other blogs, just a refresher as I have done paste and marbling previously but it has been so long since I had made any.
It was lovely to watch videos and see how the professional do it, so became all inspired again and collected materials together and of course up until all hours last night working.

Once started one needs to be well prepared with materials ahead of time as ideas kept running through my brain as I worked. Eventually I had to call it a day or night whichever the case maybe!!!

Some I like and some patterns not so much but that's art and I accept it and work with it. It's interesting the different bases and colours and the effects one produces. Below are some of mine.


I enjoyed working with the watercolour papers as compared to the finer papers.

Friday, April 18, 2014

Old photographs as stencils.

Another day in the studio and I wanted to keep nice lines in a stencil and had found that some mylar/plastic sheets etc. are too fine. I rummaged around in the spare "tool" drawer and thought to try old photographs. They are strong to work with , cut easily and gave me the finish I wanted and can store for later use. Who wants to keep cutting stencils? Anyhow here are some samples.
                                                                            
The print so far.

Number one stencil. I want to add another image for interest and possibly from a stencil.

The bird stencil printed but an unfinished edition. Still to add  another point of interest.


Sunday, April 13, 2014

A book for a friend.

I have been busy making a book for my friend for her to use as a journal which she wants to present to her grand daughter in time to come. I was chuffed that  I hadn't forgotten how to stitch the book together as it is a long time I since I had made one. There is an error and any book maker will find it but for me I am treating it as part of the design as  it won't affect the book's purpose. It is 24 x 18.5 x 3.5 cm with box board covers . Ten signatures made from various old prints with cartridge paper for writing. The cover image is a print on paste paper I made especially for the book so have others from that exercise for future books. All acid free papers and adhesives were used for stability.
The introductory page is hand pulled embossed with the grand daughters first initial and a stencilled image of two adults printed as a ghost print from a stencil, hand in hand walking away into the future on the final pages.


Paste paper with leaf print.

Cover with end paper.

Vinyl plate for embossed title page.

Cover end page and title page.

Ghost stencil print.

Tuesday, April 1, 2014

Printing a ghost print using a stencil.

Here I am again after a long break away and I have been experimenting with stencils for a current project. I cut the image to create the stencil, inked it up in position and removed the stencil and placed a "frame " around the stencilled image to protect the good paper and placed it on and gently hand pulled the print. Depends on how much ink you use on the first image as to how good the
result of the ghost print is.
Naturally as all printmakers know lettering must be in reverse pre printing, I've made this error before!


Original stencilled image.
 
For this demonstration I simple folded the paper over.
 
 
To protect the good paper I made a "frame " and placed it in position then printed it as per normal.


Monday, February 10, 2014

Pay it Forward Art making Project for 2014

I know it's been a while since I have written anything but I took a break from printmaking. My friend told me about a new project for 2014 and thought "Yeah , why not" so am following the rules.
Should you be interested do the same and lets create some fun and have something to look for in the mail at the end of the year.
Below are the instructions. Enjoy.


Here’s the deal:

Step 1 Copy&Paste this (see below) in your latest blog post
 
* Pay It Forward Art-making Project for 2014 *
I promise to make a small work of art for the first four people who comment on this post and say “YES, I WANT TO BE IN THIS”. A ‘like’ alone is not enough of a commitment, nor is a comment about thinking Pay It Forward is a great idea.

You must in turn post this on your blog and make something for the person from whom you got this (that’s me) plus the first four who comment on your blog asking to play.

The rules are simple:
– It has to be your work, made by you, and the recipient must receive it before 2014 ends.
РIt can be anything art-based: a drawing/illustration or a conceptual work of art, a photograph, a knitted item, cross-stitch, paper mach̩ Рor anything in between.

I’m paying this forward thanks to  Di  Marina  who picked it up from JackOudyn. Yes, you can be on each other’s pay it forward lists.


PS. It doesn’t matter if you aren’t an artist, try something out, google/ YouTube how to make stuff, step out of those boundaries.
Step 2 For the first four people who comment on your blog entry saying they want to participate, plus the author,you will do an art trade with them that must be completed by December 31st 2014. I would count as the first person, so technically you only need another four. If you find your friends are keen, you can do as many as you want. Similarly, if you do not get four comments within, say, one week, simply swap with those who do want to take part.
Step 3 All forms of art count including creative writing , photography, digital, anything goes! I’ll leave this up until next Monday,Feb.17. You’ll find my email at “about me” so you can let me know your postal address.